

1st Gen Tundra TRD Pro Grille Upgrade - What to know
It’s finally here! Tundra owners have been waiting for a new updated front end option, and now it’s arrived. The popularity of this new grille style is no secret, but there isn’t much information out there for the product. Here are some topics that we will cover in this article.
Grille Specs and design info
The Installation Process
Wiring the Lights
Things to know
So let’s jump right into the info.
Grille Specs and Design information
The 1st Generation TRD Pro grille upgrades cover all Toyota Tundra models from 2000 to 2006. Because the front end grille shapes are different for each year, we have split the products up into 2 different categories. The first product is the 2000-2002 Tundra grille which features a honeycomb design and three included lights. The second product is the 2003-2006 Tundra Grille that features the same black honeycomb design and a symmetric 4 light design. The product is made out of a durable and light ABS Plastic and comes in a matte black color. Lights, a wiring harness, bolts, and a silver “Toyota'“ insert are included.

The 2000-2002 Model is on the top and the 2003-2006 Model is on the bottom.
The Installation Process
Attaching the grille is a very simple and quick process, and the steps are fairly similar for both grille models. These grille upgrades serve as a direct replacement for the existing factory grille on the Tundra. I will briefly go over the installation process now, but I have created extremely In-depth installation video guides featured on our YouTube channel. You can view those here.
The 2000- 2002 grille is the easier one to install, with an average replacement time of 15 minutes. To make the switch, you just need to remove the OEM grille, salvage the old nuts from the grille, and use the new bolts to attach the new grille. After that you just reattach the hood latch and you’re finished. It’s just a matter of swapping the old for the new.
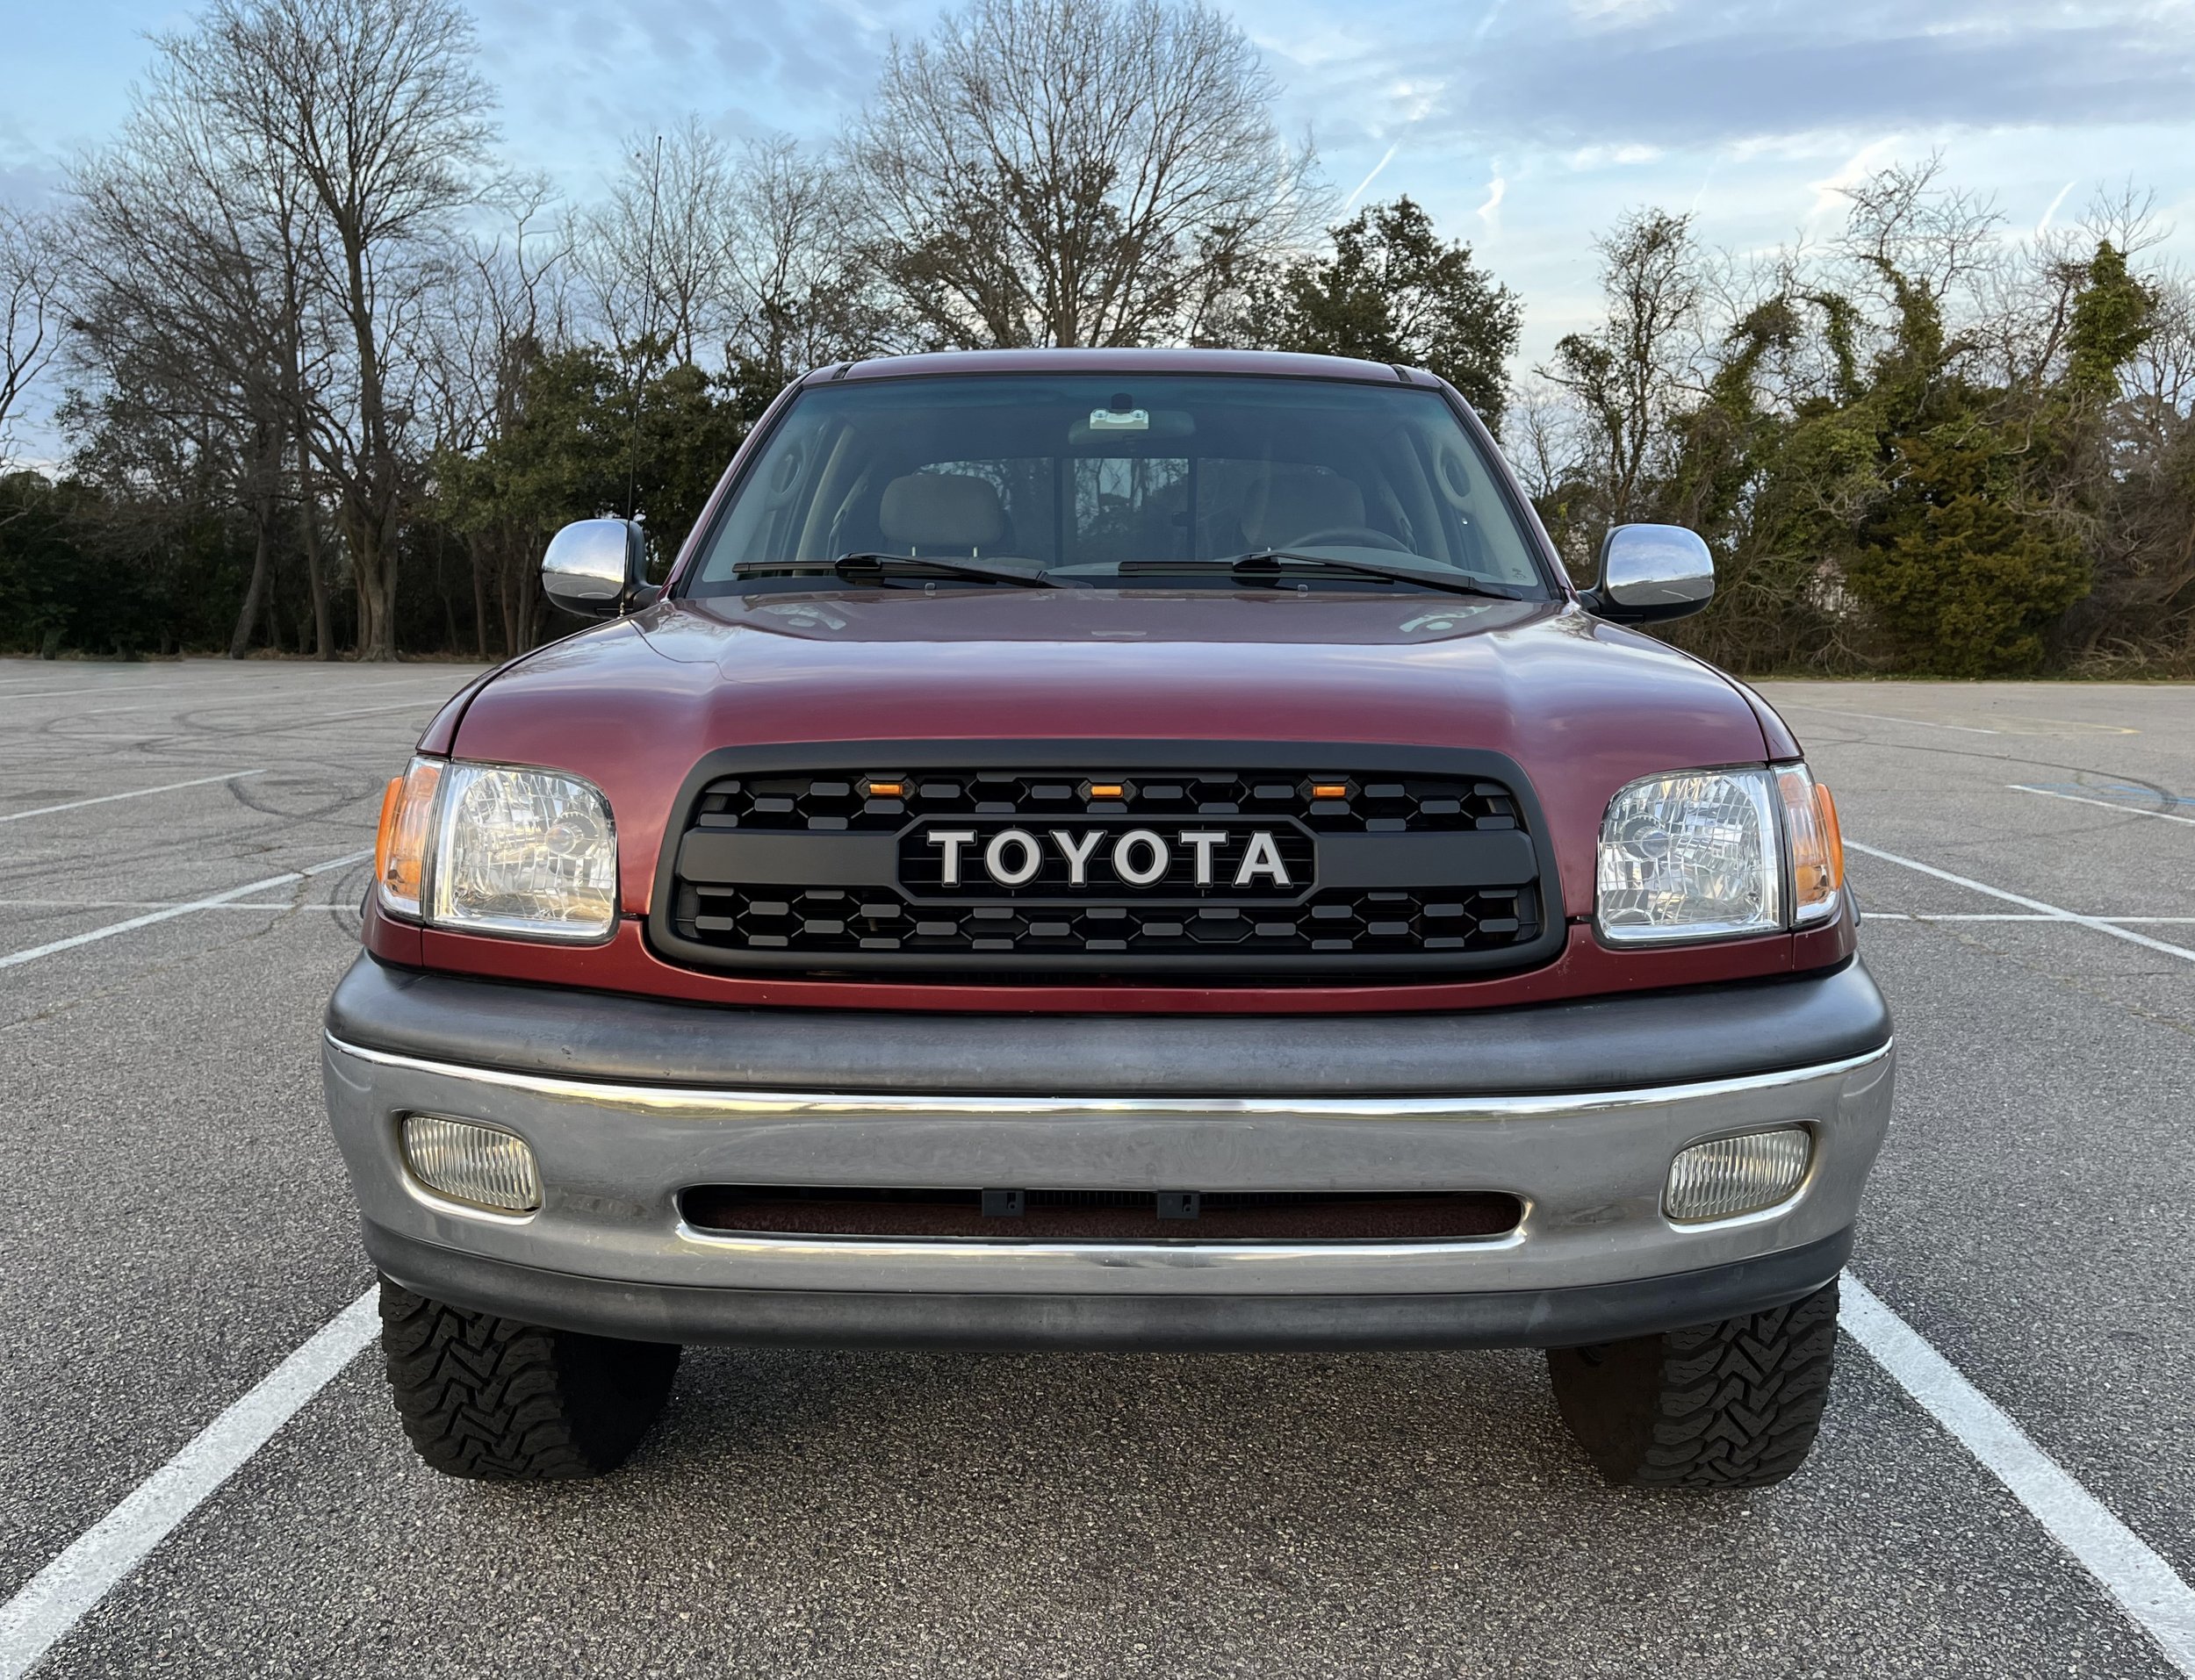
2001 Tundra with the TRD Pro Grille Installed
The 2003-2006 grille installation is a little bit longer, but still has the same concept. After removing the OEM grille, you will need to salvage the bolts and the metal support bracket that runs along the bottom of the grille. After you put those on the new grille, you are ready to go.
It’s worth noting that access cab owners have to make a slight modification in order for the grille to fit. This modification only applies to the 2003-2006 Tundra Access Cab owners. Because of the way the front end is shaped, the grille requires a small trim on the bottom edges to fit. The grille adjustment is show in our YouTube video here.

Trimming the grille for an Access Cab Tundra
Wiring the Lights
This portion of the installation always seems to discourage Tundra owners, especially ones that don’t have any wiring knowledge. That is why we came up with a simple way to wire the lights to the ignition of the car. The best option is to use an “Add-a-Fuse” to wire the light to the accessory fuse of the vehicle. This allows the lights to come on when the vehicle is cranked. Using an “Add-a-Fuse” is a simple wiring option that doesn’t require any splicing or rewiring. Another option would be to wire the lights to the taillight fuse, but a in line resistor is needed to lower the amps to the grille lights only turn on with car lights. However, for beginner’s sake I would go with the accessory fuse.

The “Add-a-Fuse” recommended for wiring
Overall Things to Know
My closing remarks for this upgrade are that it makes for a great weekend project and can really transform the look of your Tundra. While the installation process may seem a little intimidating, our videos and customer service team are here to help. You don’t need any complex tools or prior experience to get the job done. With these grille growing in popularity, it’s important to know the details about them to stay informed and up to date.